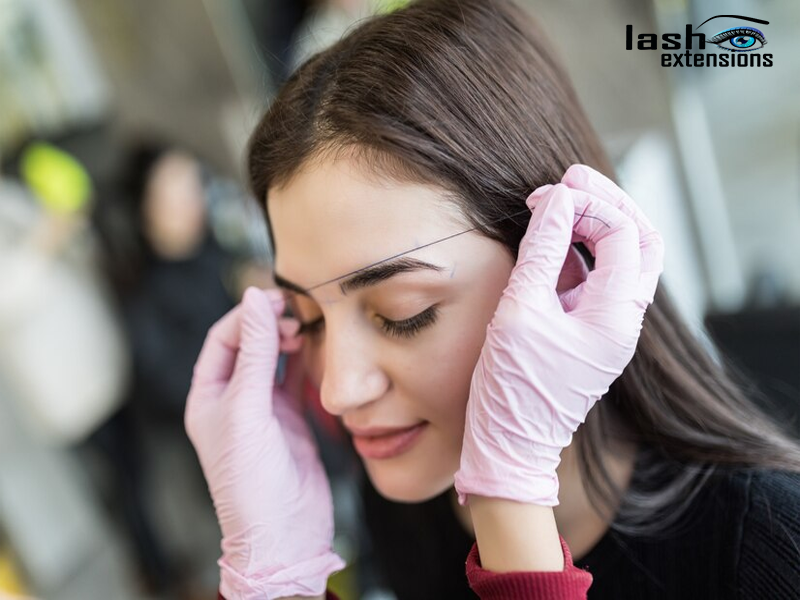
At home lash extensions have become incredibly popular in 2024. Discover the best tips and tricks for applying lash extensions at home, including essential tools, step-by-step instructions, and common mistakes to avoid.
Why Choose At Home Lash Extensions?
At home lash extensions have soared in popularity, offering an affordable and convenient alternative to salon visits. Imagine waking up every morning with effortlessly gorgeous lashes—sounds like a dream, right? With a bit of practice and the right tools, achieving this look at home is entirely possible. This guide dives deep into everything you need to know about at home lash extensions, from essential materials to troubleshooting common issues.
What Are At Home Lash Extensions?
At home lash extensions involve applying individual or strip lashes to your natural lashes, typically using adhesive. Unlike professional salon extensions, which may require a lengthy process and higher costs, at home applications are designed for convenience and cost-effectiveness. This means you get to customize your lash look without breaking the bank.
Essential Tools for At Home Lash Extensions
To achieve perfect at home lash extensions, you’ll need a few key tools. These include:
- Lash Extensions: Choose from individual lashes, clusters, or strips based on your desired look.
- Adhesive: Ensure you pick a high-quality, safe adhesive specifically designed for lash extensions.
- Tweezers: Precision tweezers are crucial for applying lashes with accuracy.
- Lash Primer and Remover: These are used to prepare your natural lashes and to safely remove the extensions when needed.
- Cotton Swabs and Pads: Helpful for cleaning up any adhesive mishaps.
Each tool plays a significant role in ensuring your lash application is flawless and long-lasting.
How to Apply At Home Lash Extensions: Step-by-Step
Applying at home lash extensions might seem daunting, but with a little patience, you can master the technique. Here’s a straightforward guide to get you started:
- Prepare Your Lashes: Clean your natural lashes thoroughly with a lash primer. This ensures that the adhesive bonds properly.
- Choose Your Lashes: Decide on the type and length of the lashes you want to apply. Shorter lashes are generally better for a natural look.
- Apply the Adhesive: Using tweezers, carefully dip the base of the lash extension into the adhesive. Be cautious not to overload it.
- Attach the Extension: Gently place the lash extension onto your natural lash, close to the root but not touching the eyelid. Hold it in place for a few seconds to allow the adhesive to set.
- Repeat the Process: Continue applying extensions, working from the outer to the inner corner of your eye for a balanced look.

Tips for a Long-Lasting Application
For your at home lash extensions to last as long as possible, follow these tips:
- Avoid Moisture: Keep your lashes dry for the first 24 hours after application to let the adhesive fully cure.
- Use Oil-Free Products: Oil can break down the adhesive, so opt for oil-free makeup and skincare products.
- Brush Your Lashes: Gently brush your lashes daily with a clean spoolie to keep them looking neat and separated.
- Avoid Rubbing Your Eyes: Be gentle to prevent premature shedding of the extensions.
Common Mistakes to Avoid
Even the most skilled DIY enthusiasts can make mistakes. Here are some common errors to avoid:
- Overloading Adhesive: Too much adhesive can cause clumping and damage to your natural lashes.
- Incorrect Placement: Applying lashes too close to the eyelid can cause discomfort and affect the longevity of the extensions.
- Skipping Preparation: Neglecting to clean and prime your lashes can lead to poor adhesion and a shorter lifespan of your extensions.
- Not Allowing Proper Drying Time: Rushing the drying process can weaken the adhesive bond.
How to Remove At Home Lash Extensions Safely
Removing your at home lash extensions should be done carefully to avoid damaging your natural lashes. Here’s how:
- Use a Lash Remover: Apply a gentle lash remover to a cotton pad and hold it over your lashes for a few minutes to loosen the adhesive.
- Gently Remove Extensions: Using tweezers, carefully peel away the extensions, ensuring you do not pull on your natural lashes.
- Cleanse Your Lashes: Once all extensions are removed, cleanse your lashes with a gentle, oil-free cleanser to remove any leftover adhesive.
Benefits of At Home Lash Extensions
Choosing at home lash extensions offers several benefits:
- Cost-Effective: Significantly cheaper than salon visits.
- Convenience: Apply them whenever you have time without the need for an appointment.
- Customizable: You can choose your desired length, volume, and style.
Potential Drawbacks of At Home Lash Extensions
However, there are also some drawbacks to consider:
- Learning Curve: It may take some time to perfect your technique.
- Risk of Damage: Improper application or removal can damage your natural lashes.
- Longevity: Home applications might not last as long as professional ones.
At Home Lash Extensions vs. Professional Lash Extensions
When comparing at home lash extensions to professional ones, here are some key differences:
- Cost: Home applications are generally much cheaper.
- Expertise: Professionals have training and experience that ensures a perfect application.
- Time: Professionals typically achieve longer-lasting results.
At home lash extensions offer a fantastic way to achieve beautiful lashes without the salon price tag. While there’s a learning curve involved, with the right tools and techniques, you can enjoy stunning, long-lasting results. Remember to follow the tips and avoid common mistakes to make your at home lash extension experience as smooth as possible. Whether you’re looking to save money or simply enjoy a bit of DIY beauty, this guide has you covered!
