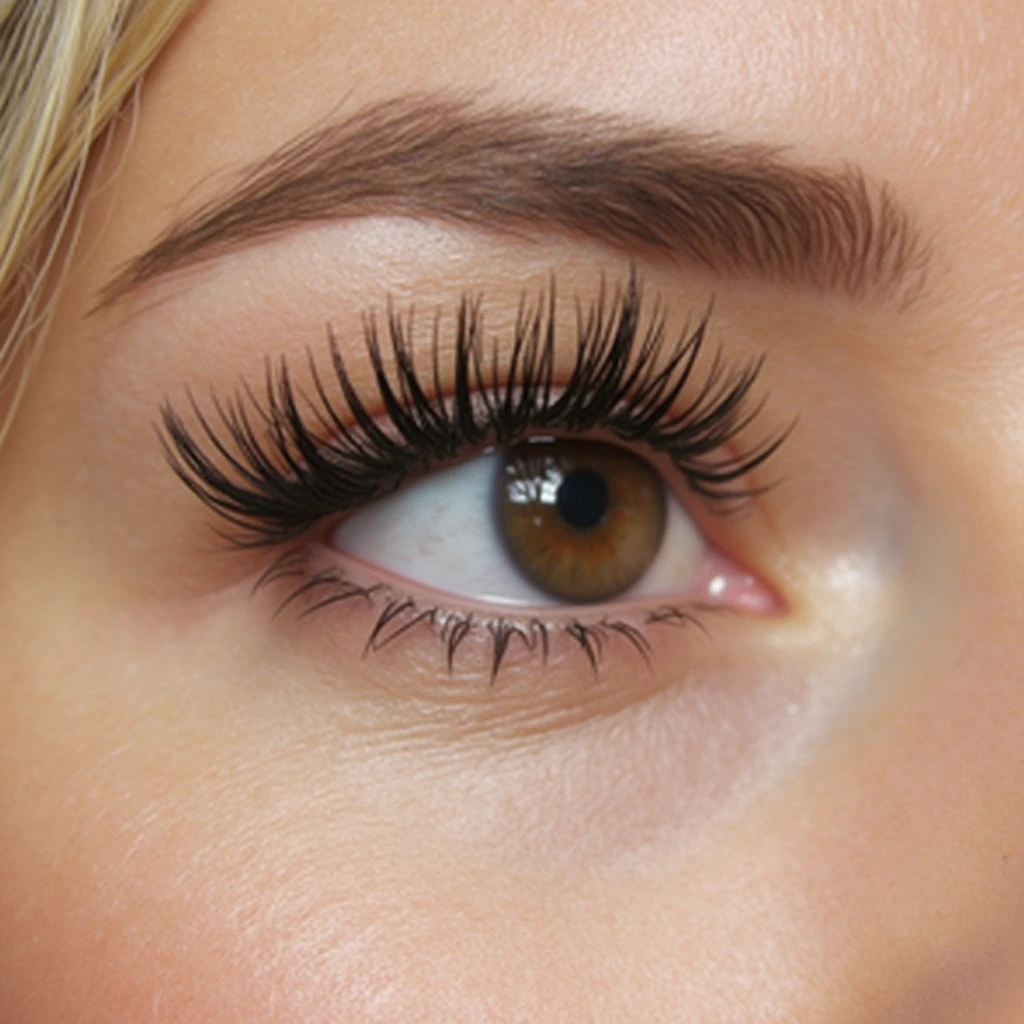
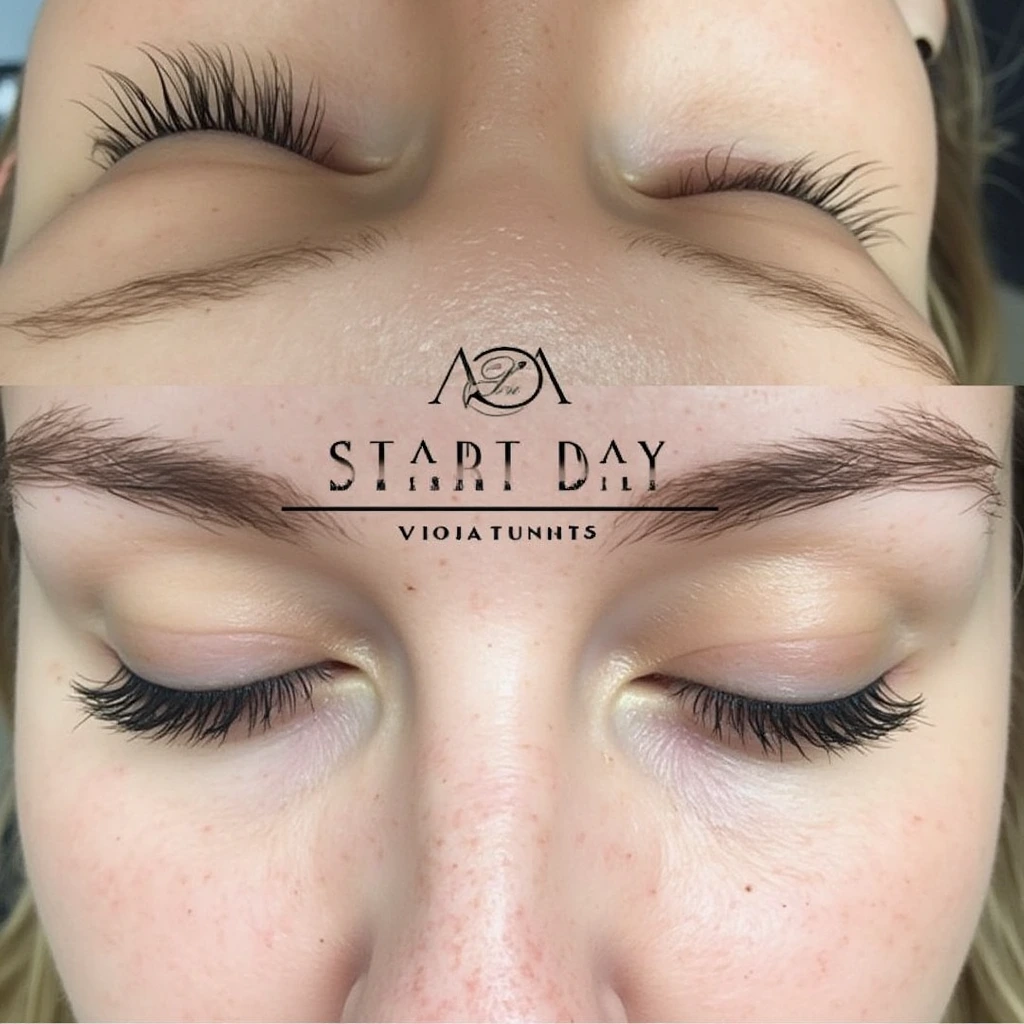
What is Lash Lifting?
Lash lifting is a semi-permanent treatment designed to enhance the natural curl and lift of your lashes. Unlike extensions, which involve attaching artificial lashes, a lash lift focuses on accentuating your own lashes by reshaping them using a chemical solution. The result? Lashes that appear longer, fuller, and more vibrant.
Why Choose a Lash Lift at Home?
DIY lash lifting has gained popularity among beauty enthusiasts seeking salon-like results in the comfort of their homes. It’s a cost-effective option that allows greater control over the process, especially for those who enjoy experimenting with beauty treatments. Plus, it eliminates the need to schedule appointments or rely on professionals.
Benefits of DIY Lash Lifting
Performing a lash lift at home empowers you to customize your look while saving both time and money. It’s an excellent way to achieve longer-lasting results compared to traditional curling methods. With proper care, an at-home lash lift can last up to 6-8 weeks, giving you an effortlessly polished appearance every day.
Understanding Lash Lift Kits
What’s Included in a Lash Lift Kit?
Most lash lift kits come equipped with essential items such as lash shields or rods, lifting and setting solutions, adhesives, applicator tools, and nourishing conditioners. Some premium kits may also include lash tints for an added touch of drama. Understanding the purpose of each item in your kit is vital for achieving flawless results.

How to Choose the Right Lash Lift Kit for You
Selecting the right kit depends on factors like your skill level, lash type, and personal preferences. Beginners may benefit from kits with detailed instructions and pre-measured solutions, while more advanced users might prefer customizable options. Always prioritize kits with high-quality, dermatologically-tested products to minimize risks.
Essential Safety Features to Look for in a Kit
Safety should never be compromised. Look for kits with hypoallergenic solutions and clear ingredient labels. Patch tests should be explicitly recommended in the instructions, and the inclusion of a nourishing balm or conditioner is a bonus for lash health.
Preparing for Your Lash Lift
Is Lash Lifting Safe for Everyone?
While lash lifting is generally safe, it’s not suitable for everyone. Those with eye sensitivities, allergies to perming solutions, or pre-existing eye conditions should consult a professional before attempting an at-home lift.
Essential Tools and Materials Needed
In addition to the kit itself, ensure you have a clean, well-lit workspace, cotton pads, a mirror with magnification, and a steady hand. Clean towels and makeup remover are also essential for preparation and cleanup.
Setting Up Your Workspace for Lash Lifting
A clutter-free, quiet area is ideal for lash lifting. Lay out all your tools beforehand to avoid interruptions during the process. Using a flat surface and proper lighting will ensure precise application, reducing the risk of errors.
Understanding Lash Lift Ingredients
Key Chemicals in Lash Lift Solutions
Lash lift solutions typically contain keratin, thioglycolic acid, and other compounds that help break and reshape the bonds in your lashes. These chemicals enable the curling effect but should be handled with care due to their potency.
Understanding Their Purpose and Effects
The lifting solution softens the lash structure, making it malleable for shaping. The setting solution locks the lashes into their new position, ensuring long-lasting results. Conditioners are crucial for restoring moisture and maintaining lash health post-treatment.

Natural vs. Synthetic Ingredients
Natural ingredients like aloe vera and plant-based keratin offer a gentler alternative to synthetic chemicals. However, synthetic solutions may provide stronger, longer-lasting results. Choose based on your tolerance and desired outcome.
Step-by-Step Guide to Lash Lifting
Cleansing Your Lashes the Right Way
Clean lashes are the foundation of a successful lift. Use an oil-free makeup remover to eliminate any residue, ensuring the solutions adhere properly.
Choosing and Applying Lash Shields or Rods
Select a shield size that complements your lash length. Apply it to your eyelid with adhesive, ensuring a snug fit. Proper alignment prevents uneven curls.
Applying the Lifting Solution
Using a fine applicator, apply the lifting solution evenly along the base of your lashes. Avoid over-saturating to prevent irritation.
Setting Time and Why It Matters
Follow the recommended setting time closely, as overprocessing can weaken the lashes. Most solutions require 8-12 minutes, depending on your lash thickness.
Neutralizing and Conditioning Your Lashes
The neutralizing solution restores the lashes’ structure and seals the curl. Finish with a nourishing conditioner to hydrate and protect the lashes.
FAQs About At-Home Lash Lifting
How Long Does a Lash Lift Last?
A lash lift typically lasts 6 to 8 weeks, depending on your natural lash growth cycle and how well you maintain the results.
Can You Wear Mascara After a Lash Lift?
Yes, you can wear mascara after a lash lift. However, it’s best to wait 24-48 hours post-treatment to ensure the lift sets properly. Opt for water-based mascaras to prolong the results.
Is Lash Lifting Suitable for Short Lashes?
While lash lifting works best on medium to long lashes, those with short lashes can still achieve a subtle lift. Choose smaller shields or rods for the best results.
What If My Lash Lift Fails?
If your lash lift doesn’t hold, it could be due to insufficient processing time or improper application. You can repeat the process after a few days, but ensure your lashes are healthy enough for another treatment.
Are Lash Lift Kits Reusable?
Many kits come with enough product for multiple uses, but disposable tools like shields and applicators are often single-use for hygiene reasons. Check your kit’s instructions for details.
